


Tutorial
Add or Edit
New page
To add a new page, click the plus (+) button in the editor menu (bottom left when logged in) and select "Basic Page".

Edit existing page
To edit an existing page, click on "edit" (top right when logged in) on the page you wish to edit.
Title & Highlight
Title
Your page title should be simple, short, and unique. For example: "Research" is better than "Our division's research".
Highlight
Highlight label & text
The highlight label is a brief summary of the highlight text. The highlight text is a brief summary or welcome to the page.
Highlight images
Images in this area should encompass the theme or feel of the page. They are published alongside the highlight text and should relate to it.
Highlight link
This should link out to directly related content. For example; your page is about application information but your audience may be only looking for the link to the application.
Note on Highlight Width
Highlights change their width depending on the presence of a sub-menu. A sub-menu appears if the current page has pages nested under it in the menu navigation structure. You can learn more about the navigation structure here.
Body content
The majority of editing for your Basic Page takes place in the Body section. Here you can insert and style basic text, add multi-media content such as images, videos and more, and utilize custom layout options. You can find these options in the editing bar at the top of the Body editing box.
Editing options
![]()
The editor menu icons, from left to right:
- Bold text
- Italicize text
- Insert link
- Remove link
- Bulleted list
- Numerical list
- Horizontal line
- Table
- Block quote
- Image
- Buttons
- Spotlight
- Sidenote
- Cards
- Format
- YouTube video
- Google Map
- Show Blocks
- Maximize
format
Formatting helps to visually organize your page. The format drop-down allows you to choose different styles for your text. The default format is Normal which is used for paragraph text that can be styled using the bold, italicize, hyperlink, bullets and numbered lists, table, pull quote and paragraph format options.
Headings
Structuring your page appropriately using headings is essential for legibility and accessibility. Use Heading 2 for main sections of your webpage and nest associated content using subsequent Headings.
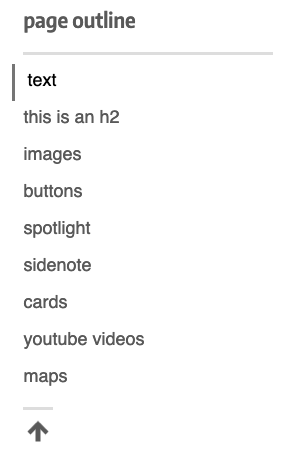
Page outline
Adding an Heading 2 adds the text to the page outline which helps a visitor navigate through a page. Please use Heading 2 intentionally with the Page Outline in mind.
images
Adding images to a page is important to create an empathetic visitor experience. After uploading an image be sure to add appropriate alt text (the right thing to do and required by law) and choose how you want the image to be aligned with the text.
![]()
Tip: if you do not have any images, check out the UW image resources.
Layout
Creating an engaging visual experience makes your webpage inviting and easier to navigate. Use buttons, spotlights, sidenotes, cards, YouTube videos, and maps to add variety to your page.

Tip: the editor will slightly shift while adding layout options. Choosing show blocks in the editor menu will help minimize the movement.
Buttons
Spotlight

The spotlight title goes here
The spotlight subtitle goes here.
Sidenote
Example
Here is some example text for the sidenote.
A sidenote accompanies paragraph text. Paragraph text needs to be longer than the sidenote or the layout will not display correctly.
Cards
The first card title goes here
Text goes here. Double-click the arrows to set the links for each card.
learn moreThe second card title goes here
Try to keep text short so visitors can quickly scan through these cards.
learn moreThe third card title goes here
You can highlight and delete any cards you do not need, use Show Blocks for help.
learn more
YouTube
How to
Upload your video to YouTube, make it publicly available, and copy the video ID found at the end of the url (the characters after the equals sign):

Paste the video ID into the editor like this: XAIOBEweAWA
Highlight the copied ID with your cursor and click the YouTube icon in the editor bar, this will embed the video on your site like the example above.
Google Maps
How to
Create a map in Google My Maps, make it publicly available, and choose Embed on my site.
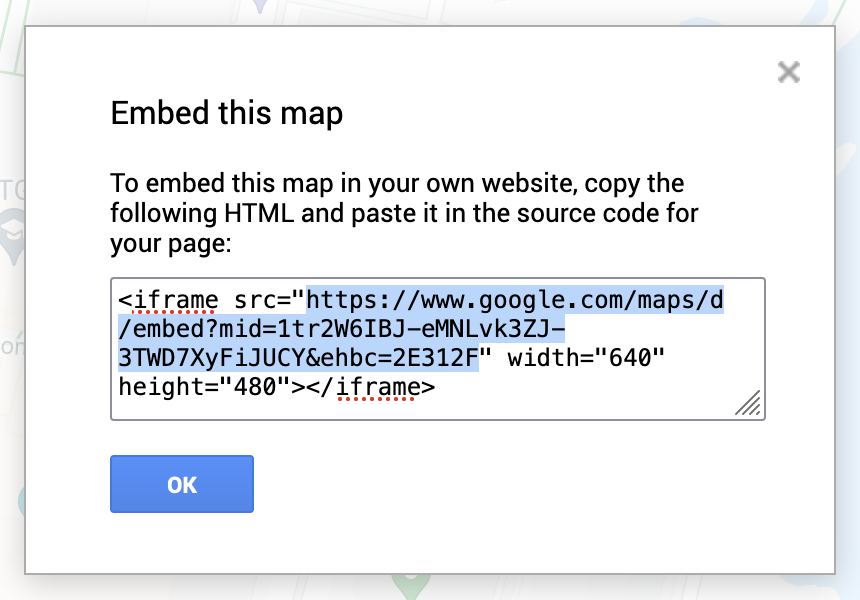 Copy only the url from the pop-up and paste it directly into the editor like this:
https://www.google.com/maps/d/embed?mid=1tr2W6IBJ-eMNLvk3ZJ-3TWD7XyFiJUCY&ehbc=2E312F
Highlight the copied url with your cursor and click the map icon in the editor bar, this will embed a live Google Map on your site like the example above.
Files
Note: The standard content on our websites is HTML. Users have difficulty reading and navigating documents (Word, Excel, PowerPoint, PDFs) online. If you have to upload a file, it must be accessible.
Choose Browse to upload a file, right-click on the blue file name to copy the link, and link to it on the page where appropriate. This will allow users to download the file.

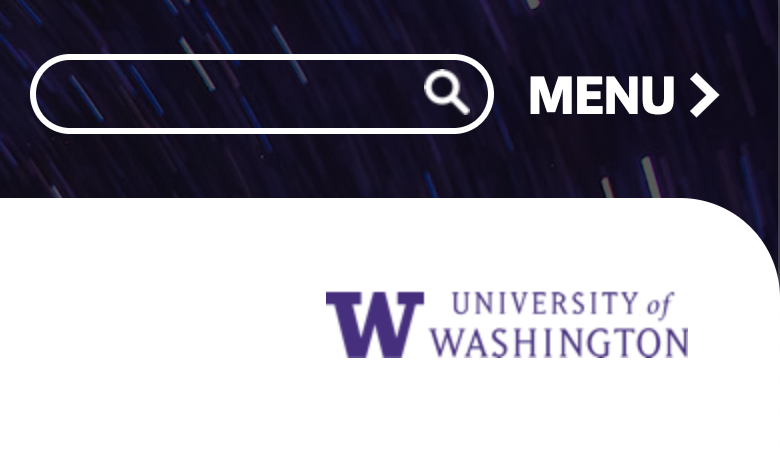
UW logo
You can add the UW logo to the top right of any webpage by choosing Add UW logo to page. Adding the UW logo can help with brand and message consistency.
Menu & URL
Menu
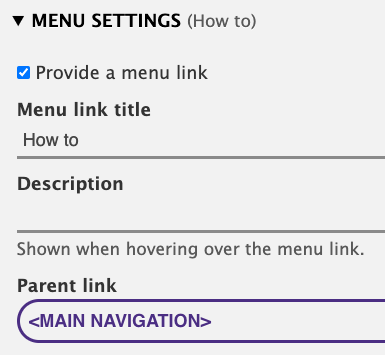
To add a page to the website navigation expand the menu settings and select "Provide a menu link". The title of the page with automatically populate to the "Menu link title" area. You can put the link in the menu by expanding the "Parent link" option and placing the new page where appropriate.
URL alias
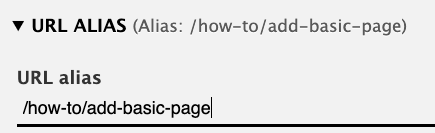
Be sure to give your new page a URL Alias. This is how you give your page a helpful link like "/about" or "/about/services/radiation-info.
Breadcrumbs
Using the image above as an example, the page would show "Home" followed by "About" as the breadcrumbs. This is path is found when you visit a page and look at it's URL.
Best practices
- Keep URL aliases short, but descriptive
- Use hyphens or underscores instead of spaces (spaces are not recognized and will be replaced by "%20" in the url)
- Use all lower case letters
Publishing
 Publish
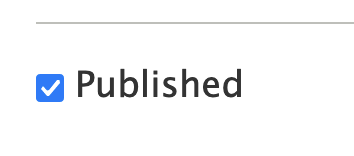
Select the blue SAVE button at the top right to save and publish your page. Uncheck Published at the very bottom before saving to unpublish the page.
Revisions
Creating a new revision makes a saved copy you can revert to if needed. Adding a log message is helpful to differentiate between changes.

Delete
Select DELETE at the very top to permanently delete a page from the website. This cannot be undone.
Again: this cannot be undone.